Ceiling lamp installation guide
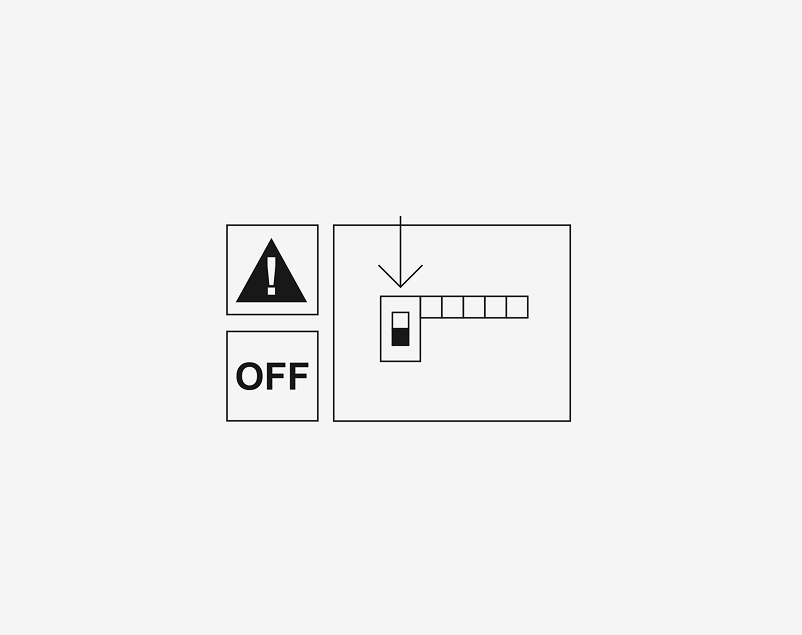
Before installing, make sure the electrical circuit is turned off. It is recommended that all electrical products be installed by a qualified professional. For all models with untreated fittings, we recommend wearing gloves during installation to avoid fingerprints.
Recommended bulb
E27 Max 25W, 2700K
What you need
- 1 x Drill/screwdriver
- 3 x Rawlplugs
- 3 x Screws
- 1 x Crown bulb
Step 1
Start by turning off the power at the main circuit breaker.
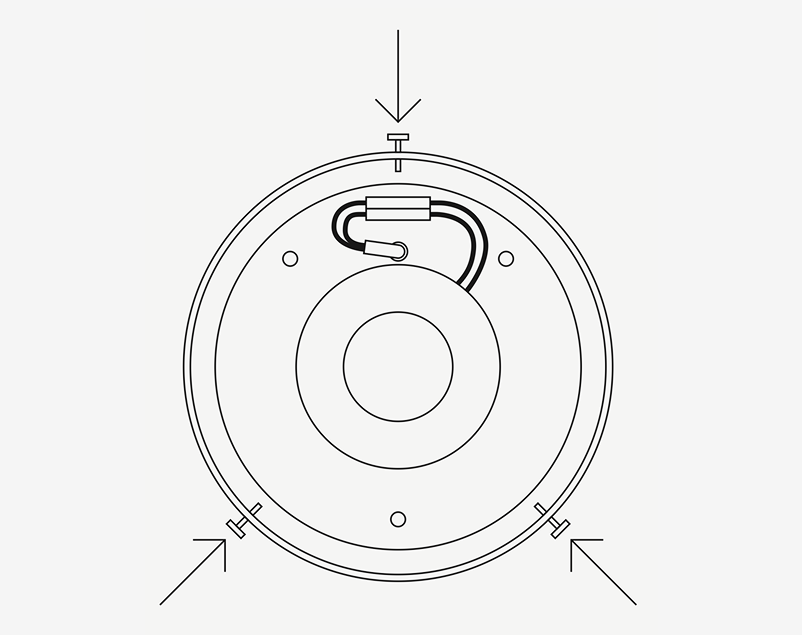
Step 2
Hold the bracket against the surface and use your pencil to mark the three drilling points. Drill the holes and insert the rawlplugs.
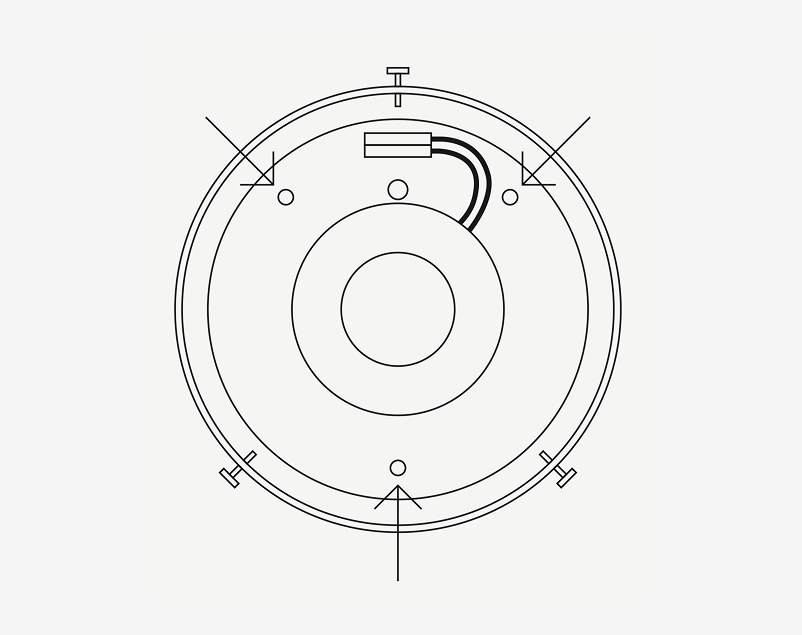
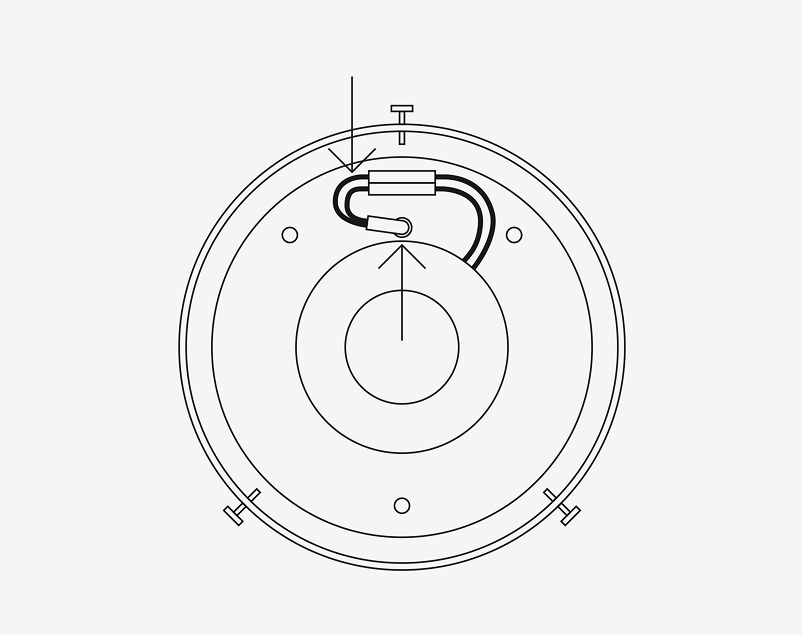
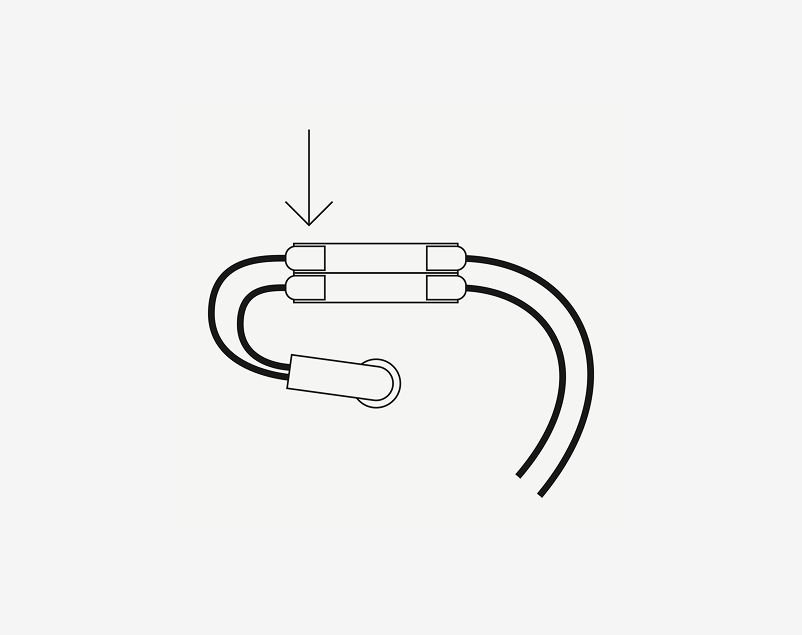
Step 3
Feed a wire through the free hole and connect it to the socket. Insert the screws and mount it on the surface with a combination drill.
Step 4
Mount the glass shade by locking the screws in place. Tighten them gently until they meet the glass. Do not use force; the glass should simply rest on the screws.
Step 5
Connect the wire to your circuit installation.
Step 6
Turn the power back on and switch on the lamp.
